In this article, we will explore the simplest way to create and publish an open-source Android library. This guide is divided into three parts:
How to push an Android project to GitHub
How to create an Android Library
How to publish the library
Create and Push the Project to GitHub
For demonstration, we’ll create a basic library to show a toast (short UI message).
- Open Android Studio and create a new project with an empty activity. Set the project name (e.g.,
ToastMe) and package name (e.g.,com.toastme), then click Finish.
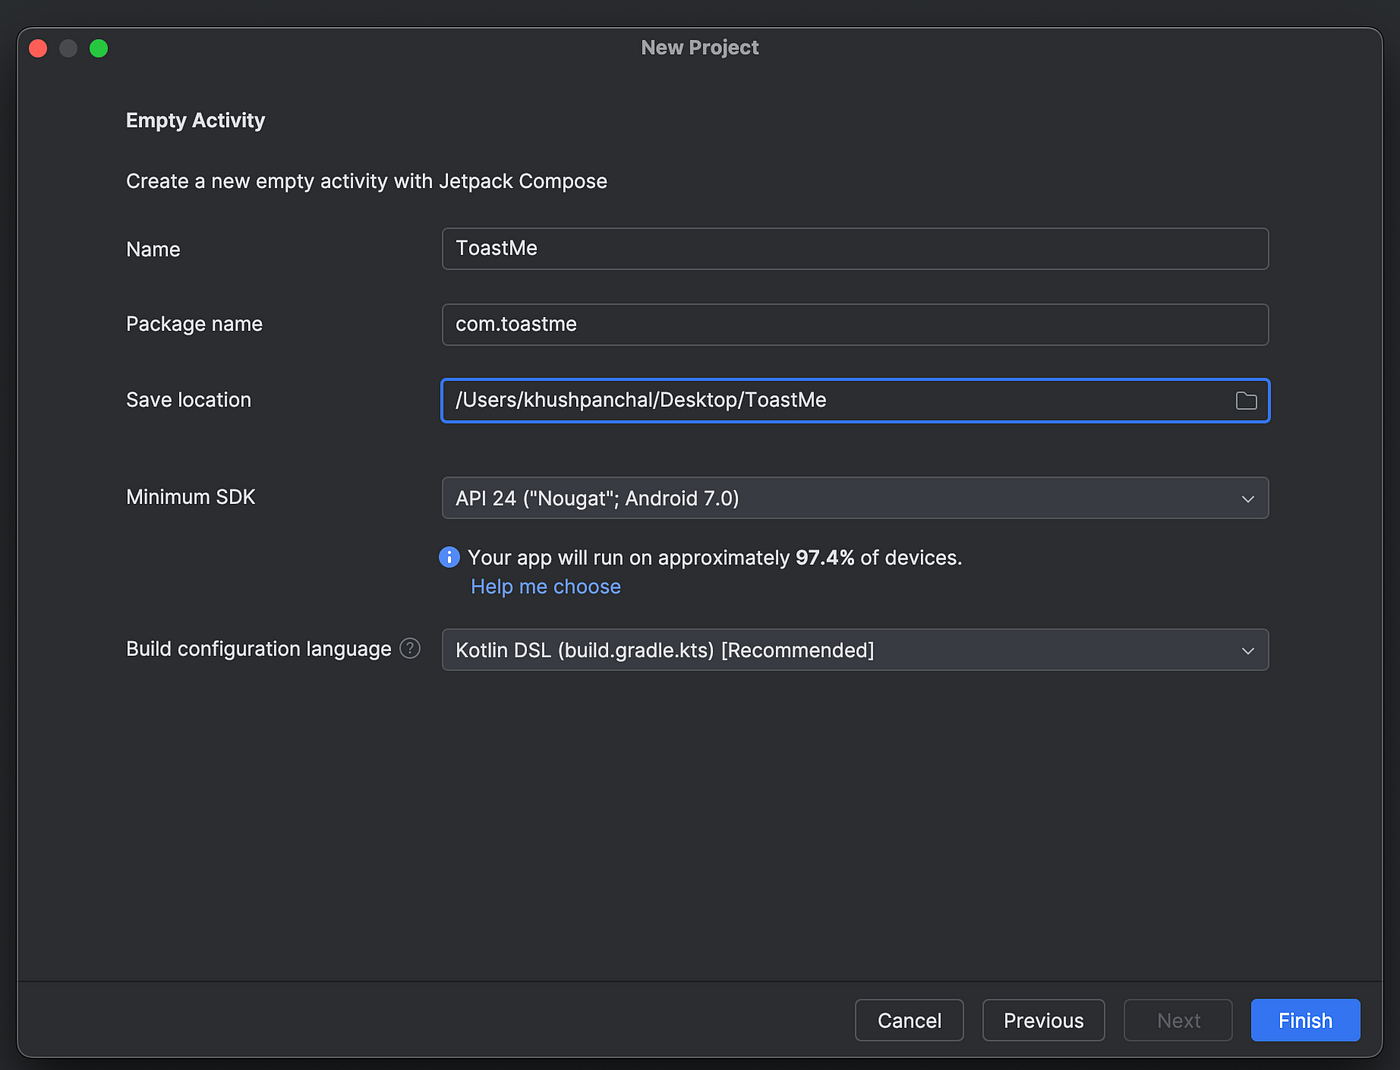
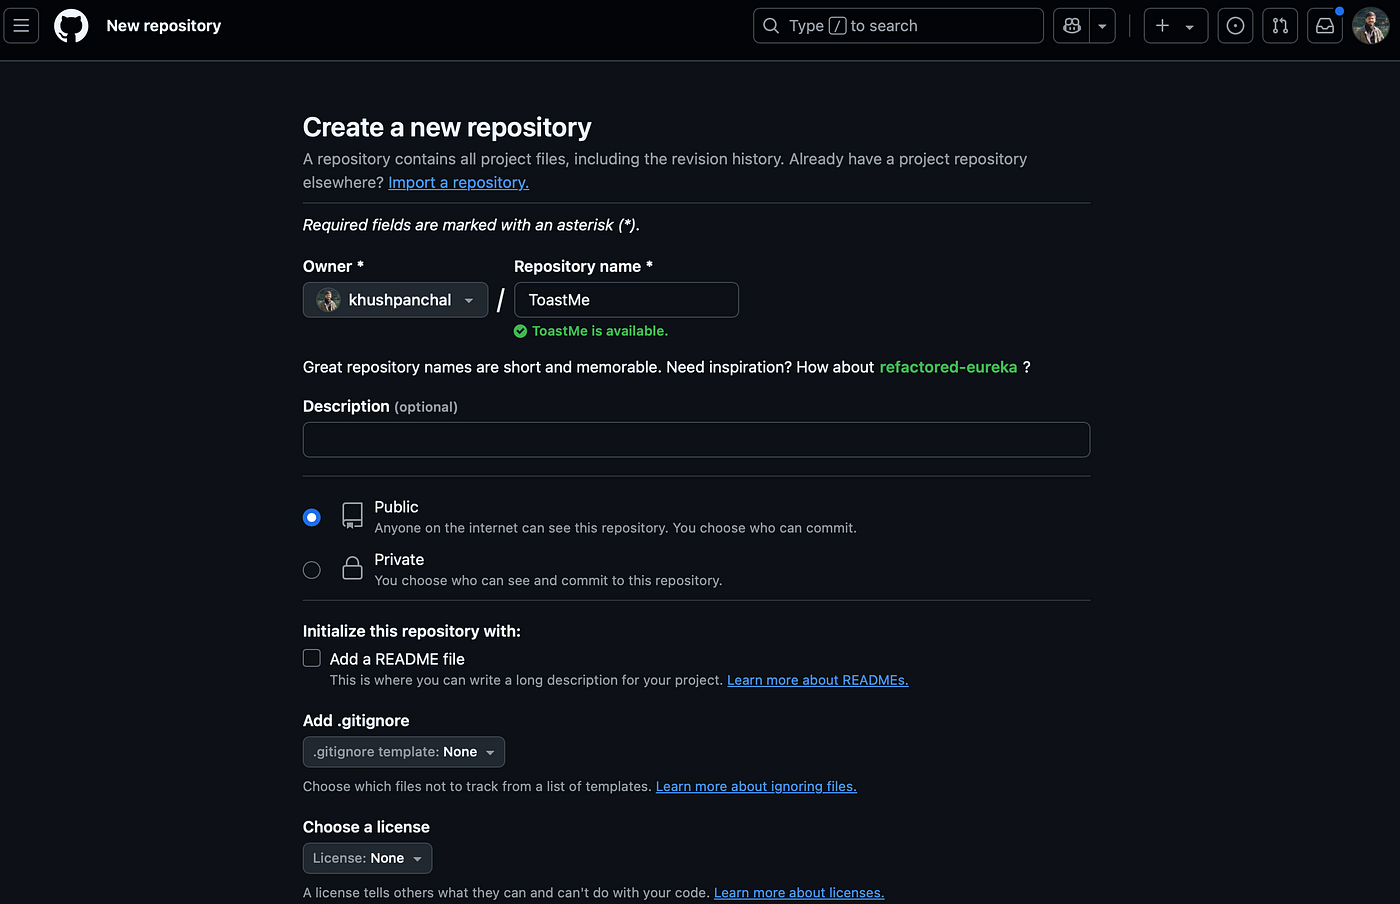
- Go to GitHub and create a new repository (e.g.,
ToastMe).
- Open the Android Studio terminal and run the following commands:
git init
git remote add origin git@github.com:khushpanchal/ToastMe.git
git add .
git commit -m "Init commit"
git push -u origin main
- Refresh GitHub to confirm the code has been pushed.
Create an Android Library
Now, let’s create the library module.
In Android Studio, go to File > New > New Module.
Select Android Library, set a name (e.g.,
toastlibrary), and package name (e.g.,com.toastlibrary), then click Finish.You should see a new folder (
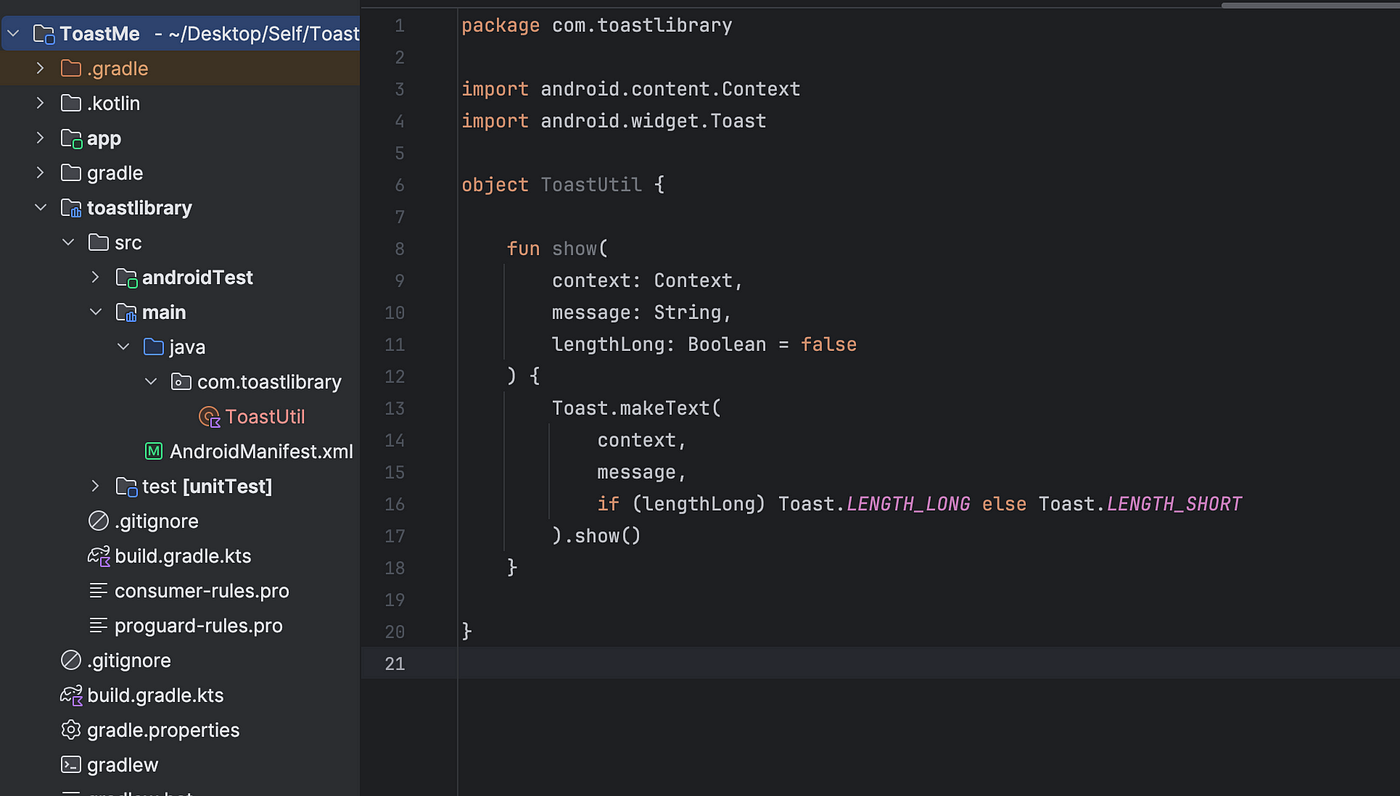
toastlibrary) in the project structure.Add a
ToastUtilclass in the library module with a utility function to show a toast message:
- Commit the changes:
git add .
git commit -m "Add toastlibrary module"
git push
- To test the library, add the following dependency to the app-level
build.gradle:
implementation(project(":toastlibrary"))
Now, ToastUtil can be used anywhere in the app.
Publish the library
Now comes the interesting part, let’s publish it and make it open source for world to use. We will be using JitPack for hosting our library.
- Add the
maven-publishplugin to the project-levelbuild.gradle.kts:
plugins {
    alias(libs.plugins.android.application) apply false
    alias(libs.plugins.kotlin.android) apply false
    alias(libs.plugins.android.library) apply false
    `maven-publish` // Add this
}
- Update the library (toastlibrary) module’s
build.gradle.kts:
plugins {
    alias(libs.plugins.android.library)
    alias(libs.plugins.kotlin.android)
    `maven-publish` // Add this
}

android {
    ..
    ..
    publishing { // Add this
        singleVariant("release") {
            withSourcesJar()
            withJavadocJar()
        }
    }
}

dependencies {
    ..
    ..
}

// Add this
publishing {
    publications {
        create("release", MavenPublication::class) {
            groupId = "com.github.khushpanchal" // com.github.<yourusername>
            artifactId = "ToastMe" // your repository name
            version = "0.0.1" // version we want to publish (say 0.0.1)

            afterEvaluate {
                from(components["release"])
            }
        }
    }
}
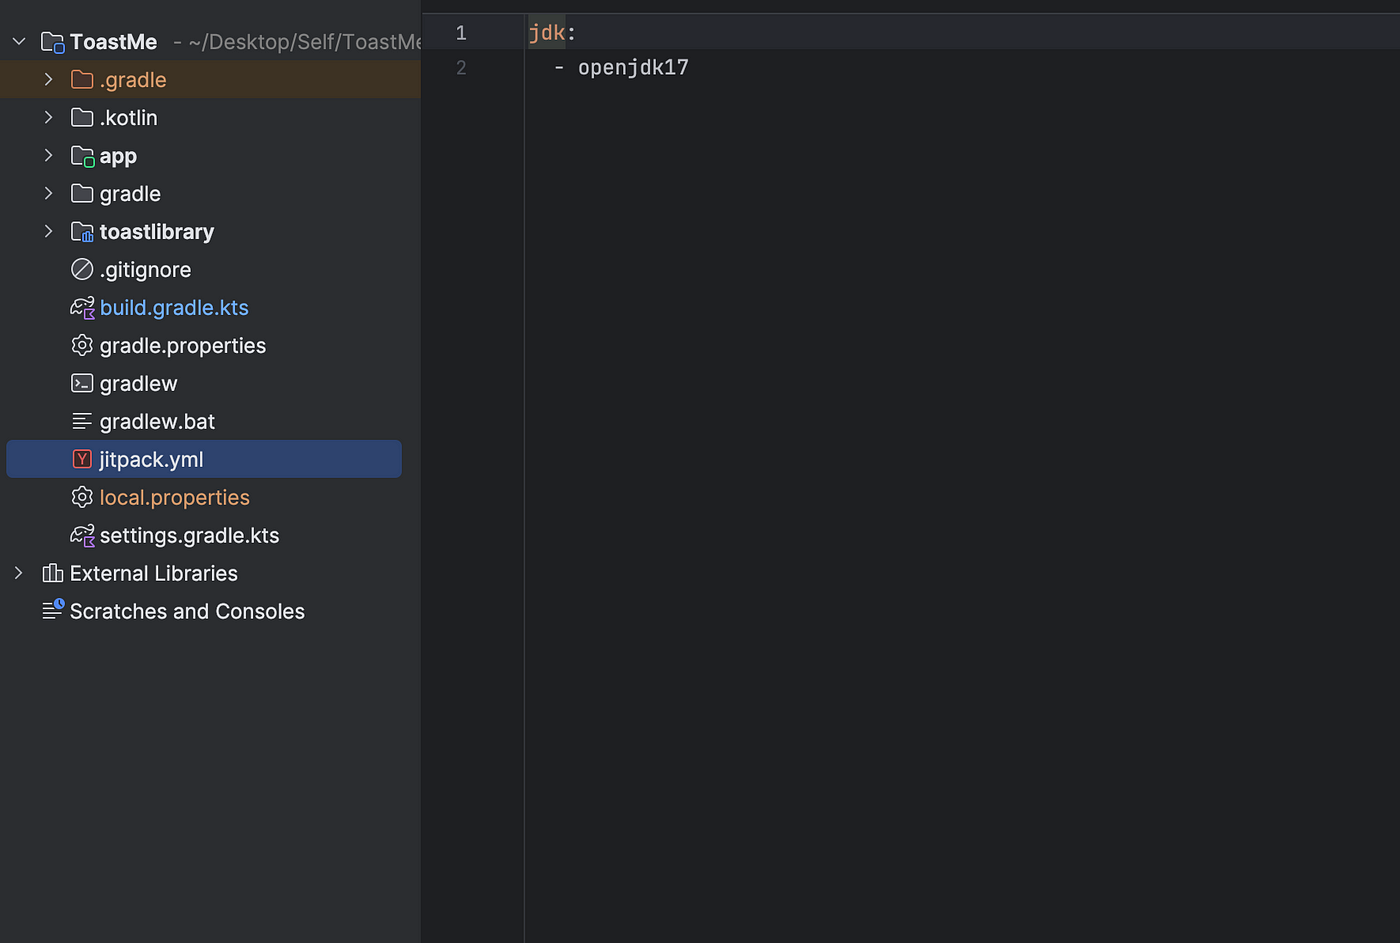
- Create jitpack.yml file at project root level and add following
jdk:
  - openjdk17
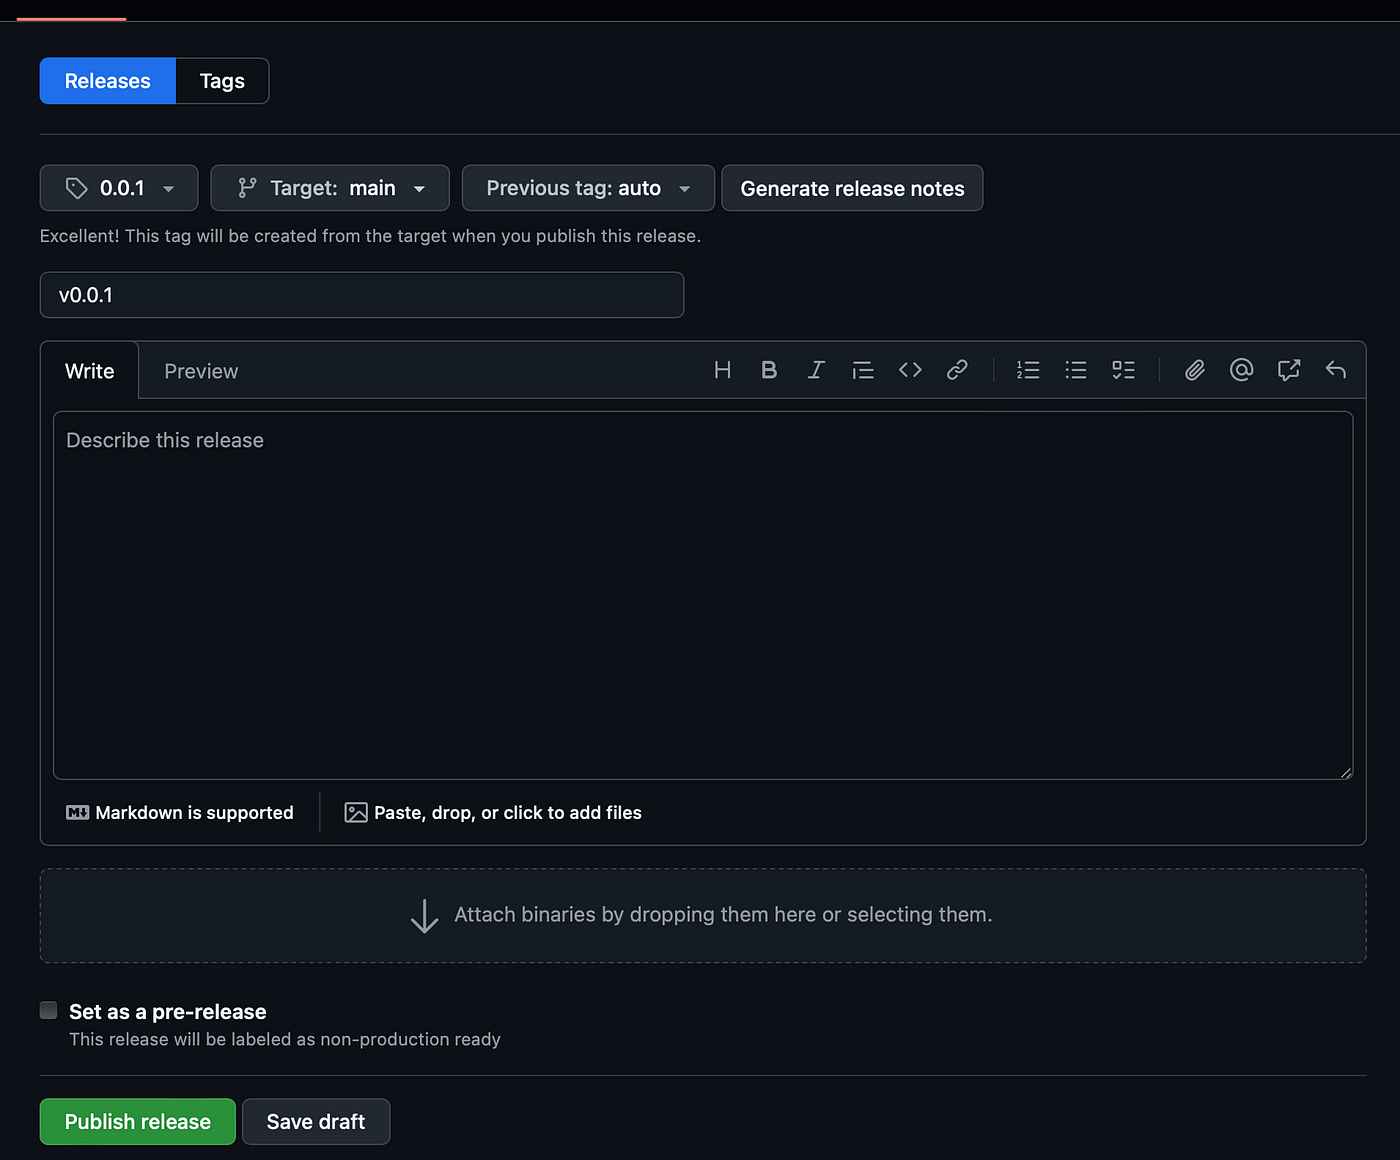
- Go to GitHub and create a new release:
- Navigate to the Releases tab in the right and click Create a new release.
- Choose a tag (e.g.,0.0.1), add a title (e.g.,v0.0.1), and publish the release.
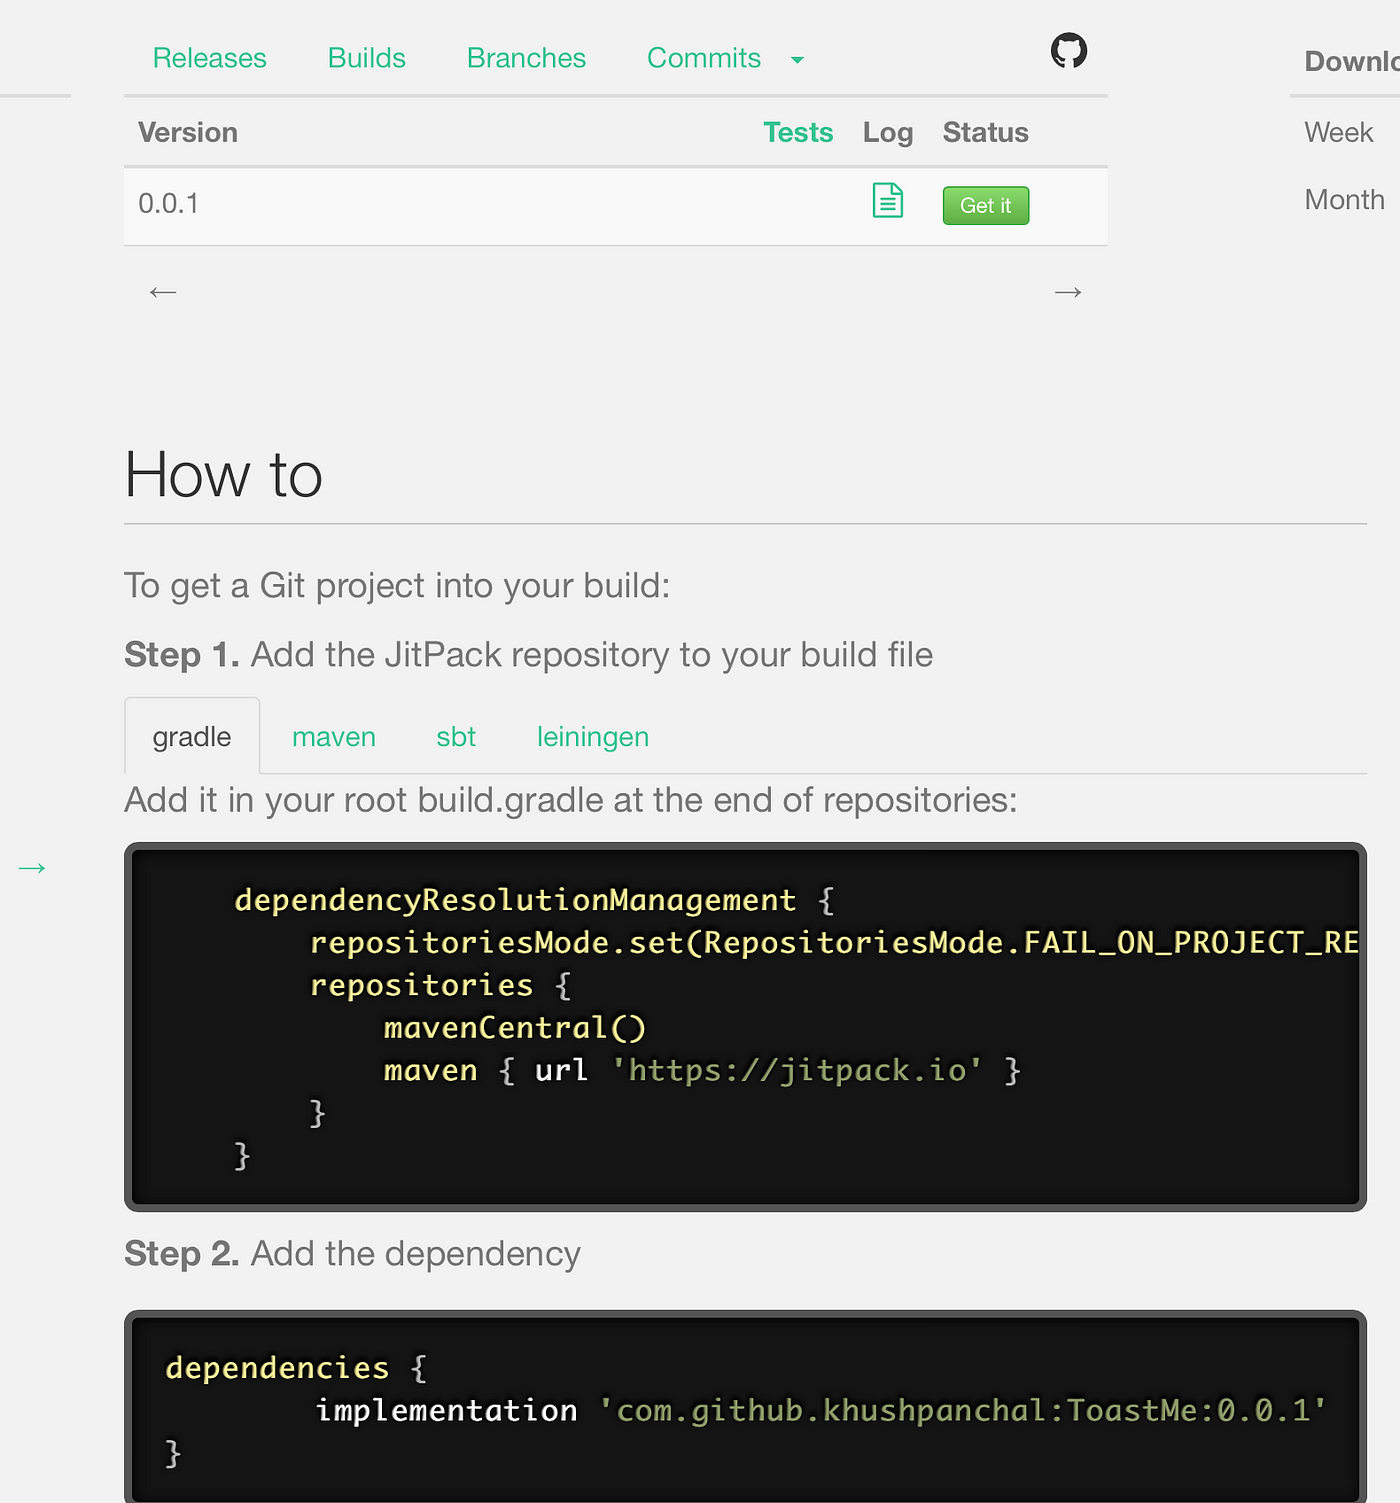
Go to JitPack.io, log in with GitHub, and enter the repository URL (e.g.,
khushpanchal/ToastMe). Click Get It and wait for the build to complete.Once published, the library will be available for use.
Test the Published Library
- Add JitPack to the
settings.gradle.ktsof any Android project:
dependencyResolutionManagement {
    repositoriesMode.set(RepositoriesMode.FAIL_ON_PROJECT_REPOS)
    repositories {
        google()
        mavenCentral()
        maven {
            url = uri("https://jitpack.io") // this one
        }
    }
}
- Add the library to the module-level
build.gradle.kts:
implementation("com.github.khushpanchal:ToastMe:0.0.1")
Conclusion
Congratulations! You have successfully created and published your first Android library. To update the library, modify the code, push the changes to GitHub, create a new release tag, and let JitPack handle the rest.
Source Code: GitHub
Contact Me: LinkedIn | Twitter
Happy coding! ✌️
